How to Make a Survival Kit (One You’ll Actually Use)

How to Make a Survival Kit (One You’ll Actually Use)
November 18, 2026 Learning and Education 0
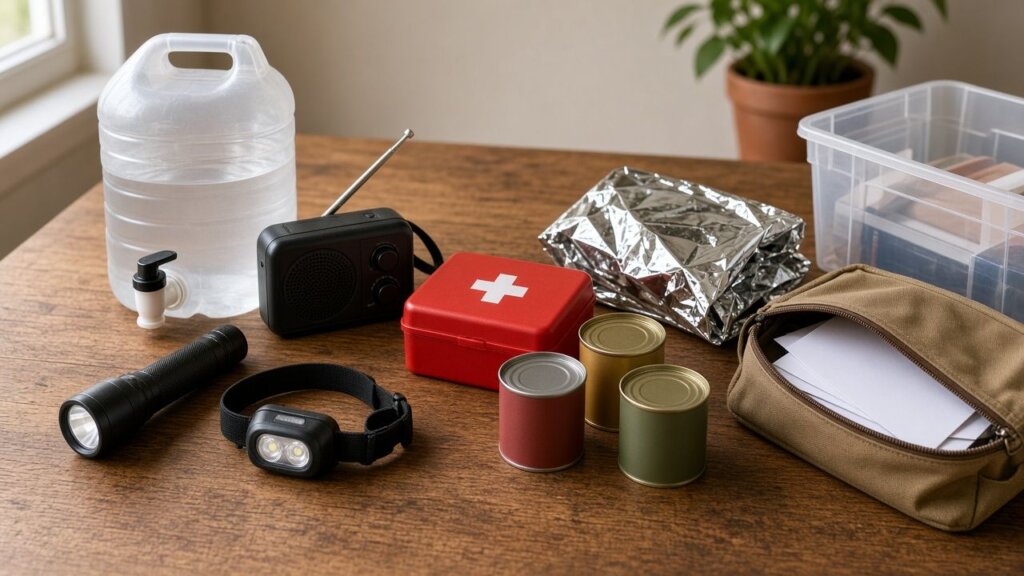
Homemade home emergency kit laid out on a wooden table: a water jug, radio, flashlight, headlamp, first aid box, canned food, a folded silver emergency blanket, and a document pouch

Disclaimer: This post may contain affiliate links of products I’ve used or approve; If you buy from them, you won’t pay a penny more but I receive a small compensation that helps me create more content like this! Thank you 🙂 As an Amazon Associate I earn from qualifying purchases.

Quick question: if the power went out tonight and stayed out until Friday, what would you actually do?

Most of us would open the fridge, stare at it, and then look for a flashlight that hasn’t worked since 2019.

This guide fixes that. You’ll learn what goes into a basic survival kit, how much water and food to pack, how to put it all together step by step, and the mistakes that quietly make a kit useless. Everything here is checked against what Ready.gov (FEMA), the American Red Cross and the CDC recommend, so this isn’t a doomsday-prepper wish list. It’s a box of boring, sensible things.

Boring is the point.

For the record, I do keep one. You should too.

What a Survival Kit Is (and Isn’t)

Ready.gov puts it simply: after an emergency you may have to get by on your own for several days, so a disaster supplies kit is just the basic stuff your household might need during that time.

It’s not a bunker. It’s not a crossbow. It’s water, food, light, a radio, first aid, medications and document copies, packed so you can grab it fast or live off it at home.

In my opinion, the best kit is the one you’ll actually maintain. A huge, fancy setup you forget about in the garage is worth less than a modest box you check twice a year.

Materials and Supplies

Here’s the core list, based on Ready.gov’s basic kit and the Red Cross’s minimum supplies. The table is boxed so you can screenshot it and take it shopping.

ItemHow muchWhy
Water1 gallon per person, per day: at least 3 days to go, about 2 weeks at homeDrinking and sanitation
Non-perishable foodSame as water: 3 days to go, 2 weeks at homeEasy, no-cook calories
Manual can opener1Canned food is useless without it
Battery-powered or hand-crank radio (NOAA Weather Radio)1Alerts and news when phones and power fail
Flashlight or headlamp + extra batteries1 per personLight, safely
First aid kit1Cuts, scrapes, burns
Prescription medications7-day supplyPharmacies may be closed
Copies of documents + emergency contacts1 set, waterproofID, insurance, medical info
CashSmall billsCard machines need power too
Phone charger + backup battery1Keeps your phone alive
Whistle1 per personSignal for help
Dust mask (e.g. N95)1+ per personHelps filter contaminated air
Emergency blanket1 per personWarmth
Plastic sheeting, duct tape, scissors1 setShelter in place
Moist towelettes, garbage bags, plastic ties1 setPersonal sanitation
Wrench or pliers1Turning off utilities
Multi-purpose tool1A bit of everything
Local maps1No signal, no GPS

Then add what’s specific to you: glasses or contact lens solution, hygiene and feminine supplies, a change of clothes and sturdy shoes, a sleeping bag or warm blanket, matches in a waterproof container, and pet food and extra water if someone in the house has four legs.

How to Make a Survival Kit, Step by Step

Step 1: Decide who it’s for and how long it has to last

Count the people (and pets) it has to cover. Then decide which kit you’re building: a grab-and-go kit for leaving the house, or a stay-at-home supply. The Red Cross suggests a 3-day supply of water and food for evacuation and a 2-week supply for home.

Do the math once and write it down. One person for 3 days is 3 gallons of water. Two people for two weeks is 28. Yes, that’s a lot of water. No, you don’t have to buy it all this weekend.

Step 2: Pick your container

Ready.gov recommends packing everything in one or two easy-to-carry containers, like plastic bins or a duffel bag, with items sealed in airtight plastic bags inside.

My take: if you can’t lift it, it’s not a go-bag. It’s furniture. Keep the heavy water supply separate and keep the grab-and-go part light enough to carry to the car in one trip.

Step 3: Start with water

Water comes first because you can’t improvise it. The CDC says to store at least 1 gallon per person per day for at least 3 days, and a 2-week supply if you can. Store more if you live somewhere hot, or for anyone pregnant or sick, and for pets. Ready.gov notes that in very hot temperatures, water needs can double.

Unopened store-bought bottled water is the safest option, according to the CDC. If you fill your own containers, use food-grade ones (never anything that held chemicals like bleach or pesticides), label them “drinking water” with the date, keep them somewhere cool (50–70°F) and out of direct sunlight and away from things like gasoline, and replace the water every six months.

Scepter Flow Control 5-Gallon Water Can
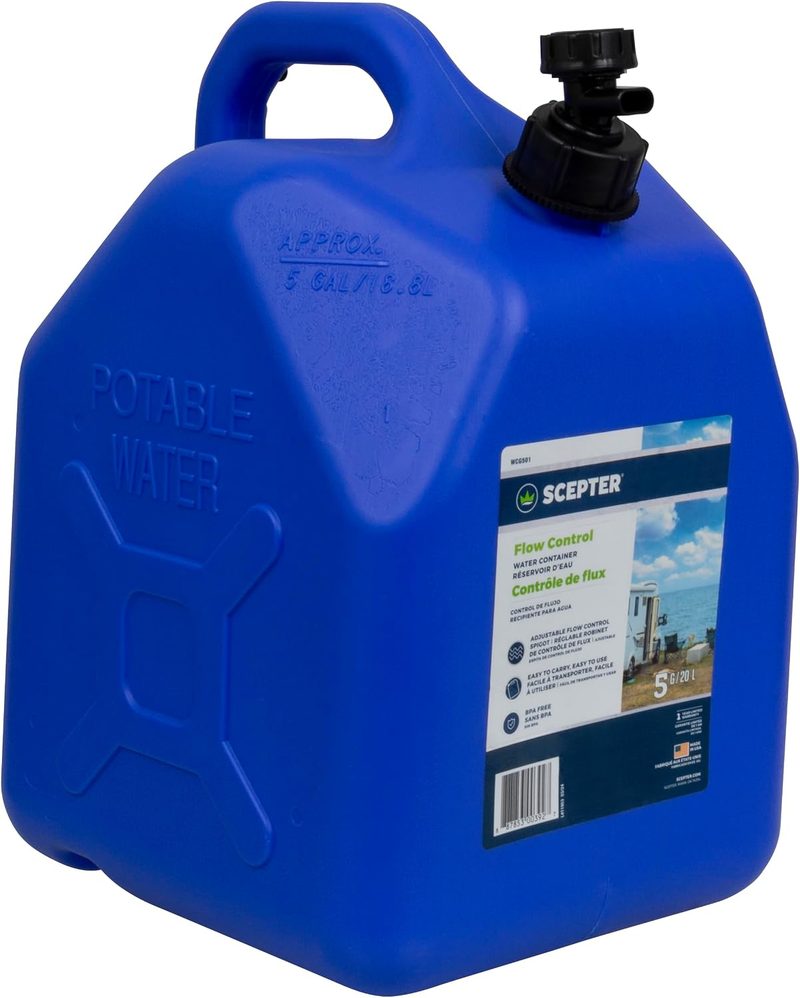
Scepter Flow Control 5-Gallon Water Can

A food-grade, BPA-free jug made for storing drinking water, with a flow-control spout so you can pour without tipping the whole thing over. One full can covers one person for about five days at a gallon a day.

Con: Over 40 pounds when full, so it isn’t going anywhere fast.

Get it here

Step 4: Add food you’ll actually eat

Pick non-perishable food that doesn’t need a fridge, cooking or extra water. Ready.gov suggests things like ready-to-eat canned meat, fruit and vegetables, protein or fruit bars, dry cereal or granola, peanut butter and dried fruit, plus a manual can opener and utensils.

Their other advice is the smartest line on the whole list: choose foods you’ll eat. An emergency is a terrible time to discover you hate canned sardines.

Rotate it, too. Eat the granola bars before they expire and replace them. If you’d rather not build this part yourself, we’ve rounded up some emergency food kits.

Step 5: Light, power and information

When the power goes, you need light, a way to charge your phone and a way to hear what’s going on. Ready.gov lists a battery-powered or hand-crank radio and a NOAA Weather Radio with tone alert, a flashlight, extra batteries, and a phone with chargers and a backup battery.

A headlamp beats a flashlight when you need both hands, which is basically always.

Midland ER10VP Weather Radio
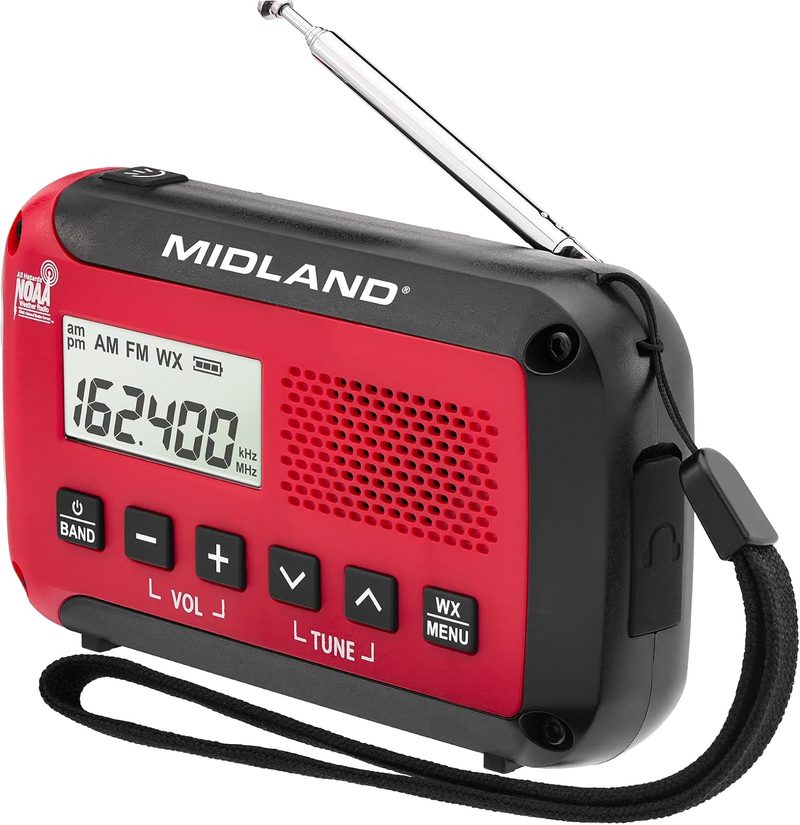
Midland ER10VP Weather Radio

A compact, battery-powered AM/FM radio with NOAA weather alerts, a flashlight with high, low and SOS strobe modes, a digital clock and a headphone jack. It runs on three AA batteries, which are included, and it’s small enough to toss in a go-bag or the glove box.

Con: No hand crank or solar panel, so pack spare AA batteries.

Get it here

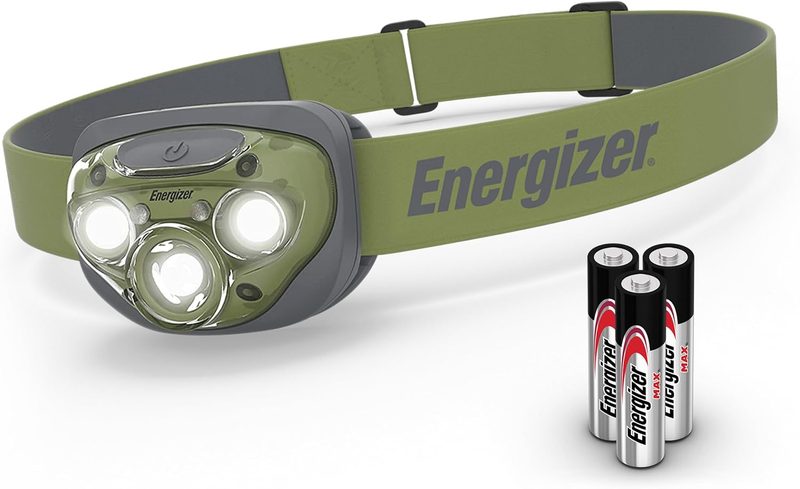
Energizer PRO-260 LED Headlamp

Energizer PRO-260 LED Headlamp

A hands-free light with several beam settings, including a red mode for when you don’t want to blind everyone in the room. It’s water resistant (IPX4) and comes with its three AAA batteries.

Con: Uses AAA batteries, so pack spares.

Get it here

Step 6: First aid and medications

Pack a first aid kit and, according to the Red Cross, a 7-day supply of your medications plus any medical items you rely on, like glasses, contact lenses or hearing aid batteries. Ready.gov adds non-prescription basics like pain relievers, antacids and anti-diarrhea medication.

The CDC suggests talking to your doctor or pharmacist about creating an emergency supply of prescriptions. Don’t guess on this one.

First Aid Only 298-Piece Family First Aid Kit
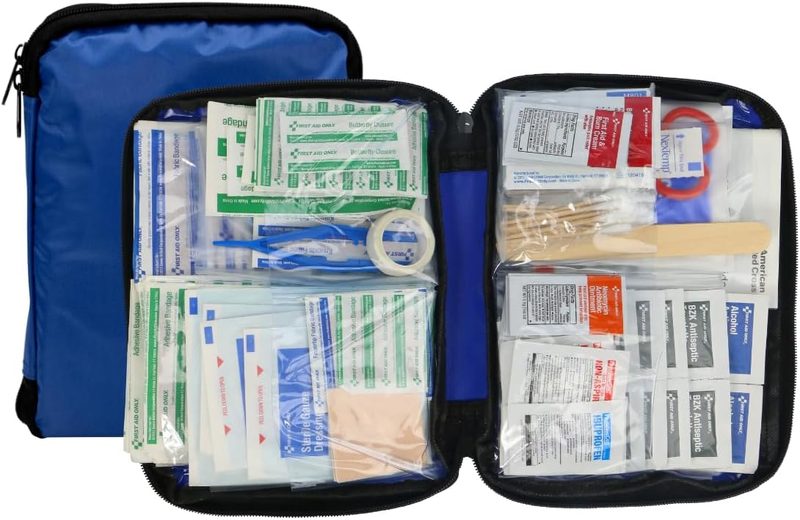
First Aid Only 298-Piece Family First Aid Kit

Bandages, gauze, antiseptic towelettes, antibiotic ointment, burn cream and a cold pack, organized in a soft zip case with clear pockets so you can find things fast. It’s compact enough for a go-bag or the car.

Con: Built for small injuries, not serious trauma.

Get it here

Step 7: Documents, cash and contacts

This is the step everyone skips. The Red Cross recommends copies of personal documents: your medication list and medical information, proof of address, your deed or lease, passports, birth certificates and insurance policies. Add family and emergency contact information and some cash.

Ready.gov suggests saving copies electronically or keeping them in a waterproof, portable container. My advice: do both. A phone with a dead battery is a very expensive paperweight.

ENGPOW Fireproof Document Bag (15 x 11 in)
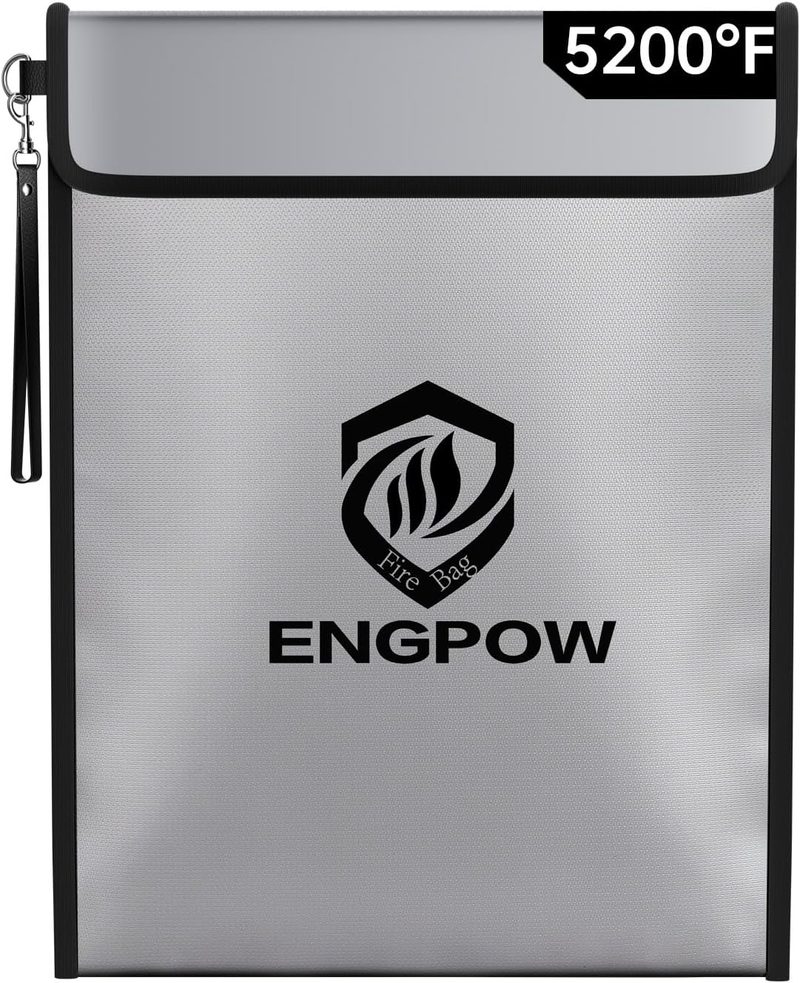
ENGPOW Fireproof Document Bag (15 x 11 in)

A zippered, document-size pouch with a lock that fits passports, document copies, cash and a USB stick in one place. The seller describes it as fire- and water-resistant. For extra protection, slip the papers into a zip bag inside.

Con: Too bulky for a very small go-bag.

Get it here

Step 8: Shelter, warmth and sanitation

This is the unglamorous part. Ready.gov lists a whistle to signal for help, a dust mask to help filter contaminated air, plastic sheeting, scissors and duct tape to shelter in place, moist towelettes, garbage bags and plastic ties for sanitation, and a wrench or pliers to turn off utilities. The Red Cross adds an emergency blanket.

None of it is exciting. You’ll be glad you have all of it.

Swiss Safe Emergency Mylar Blankets (4-Pack)
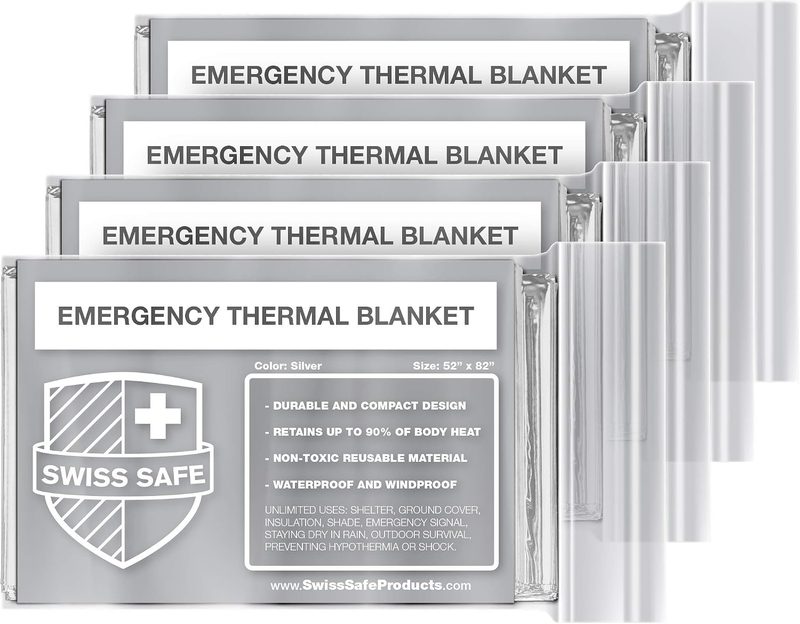
Swiss Safe Emergency Mylar Blankets (4-Pack)

Four silver Mylar blankets, about 52 by 82 inches each, plus a smaller bonus space blanket in the pack. The maker says they retain body heat and block wind and rain. They’re thin and compact, so they’re easy to stash in the kit, the car and a backpack.

Con: Crinkly and loud. It’s a blanket, not a sleeping bag.

Get it here

3M 8210 N95 Particulate Respirator (20-Pack)
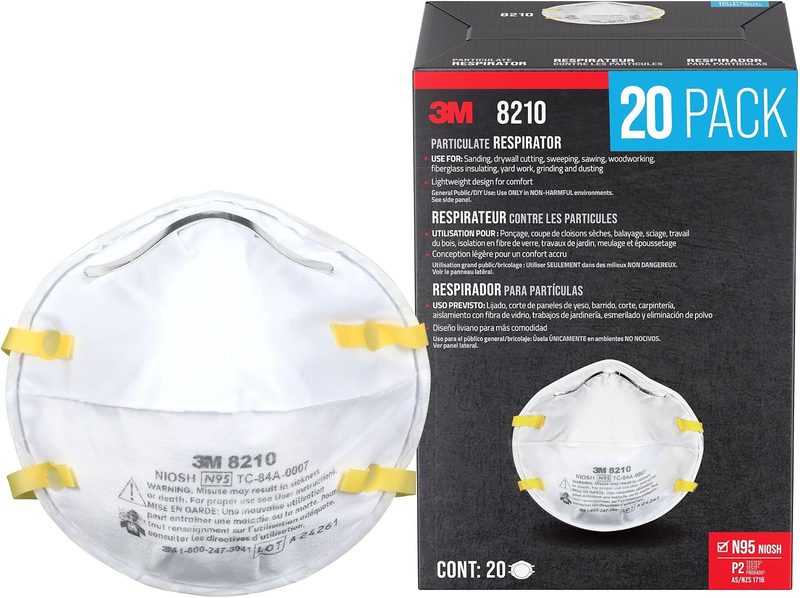
3M 8210 N95 Particulate Respirator (20-Pack)

NIOSH-approved N95 masks for dust and other non-oil-based particles, which covers the dust mask on Ready.gov’s list. A 20-pack covers the whole household with spares.

Con: They only work with a snug seal, so check the fit.

Get it here

Step 9: Label it, store it, set a reminder

Label the bin. Tell everyone in the house where it lives. Ready.gov suggests keeping canned food somewhere cool and dry, boxed food in tightly closed containers, replacing expired items and rethinking your needs every year.Since you don’t know where you’ll be when something happens, Ready.gov also recommends supplies for home, work and the car. Your work kit should cover sheltering there for at least 24 hours, with comfortable walking shoes.Put a reminder in your phone every six months: swap self-filled water, check expiration dates, test the radio and the batteries.

Tips and Common Mistakes

  • Packing for a movie, not your life. A machete looks cool. In my opinion, plan for the boring emergencies first: a long blackout, a big storm, a boil-water notice.
  • Forgetting the can opener. A box of canned food without one is a box of decorations.
  • Water you can’t lift. Split it into containers you can carry.
  • Batteries that don’t fit anything. Check sizes. The headlamp takes AAA, the radio takes AA.
  • Setting it and forgetting it. Self-filled water gets replaced every six months, according to the CDC. Food and medications expire.
  • Rationing water. Ready.gov says not to ration drinking water unless authorities tell you to. Drink what you need today and look for more tomorrow.
  • No paper backup. Phone numbers you “know” disappear when your phone dies. Write them down.
Short on time? Some people start with one of the best ready-made survival kits we’ve covered and then add water, medications and documents. That’s a reasonable shortcut. Just remember that no store-bought kit comes with your prescriptions or your passport copy.

Quick FAQ

How much water do I need in a survival kit?

At least 1 gallon per person per day. The CDC says at least 3 days and ideally 2 weeks, and more for hot climates, pregnancy, illness and pets.

How often should I check my kit?

Ready.gov says to replace expired items and rethink your needs every year. The CDC says to replace water you bottled yourself every six months.

The Final Result

When you’re done, you’ll have one or two containers you can carry, a water supply you’ve labeled and dated, enough food and medication to get through a few rough days, light, a radio, and your important papers in one place.

It won’t look like much. That’s exactly why it works.

Gear only goes so far, though. Knowing what to do with it counts just as much, and if you want to go further, we’ve also looked at some urban survival skills courses.

Build the box. Put it somewhere obvious. Then forget about the end of the world until your phone reminds you in six months.

Sources

Share:

Facebook
X
Pinterest
Picture of Sara Moura

Sara Moura

With a deep taste for the uncensored, lover of science, poetry, and all things gastronomy. I'm a curious human with a penchant for laughter.


Leave a Reply

Your email address will not be published. Required fields are marked *